How to Make Pita Chips That Are Crispy and Addictive
One bite—crunch—and you’re hooked. Golden edges, bubbly blisters, and a whisper of za’atar that makes store-bought bags taste like cardboard. Ten minutes of work, zero regrets, and your dip’s new best friend just moved in. Let’s bake.
Why Homemade Pita Chips Win
Crisper than store-bought, cheaper than air, and you control the flavor. Stale pitas? Revived. Hummus lonely? Not anymore. Snack, topper, salad crunch—triple threat.
5-Minute Pantry Raid (Ingredients)
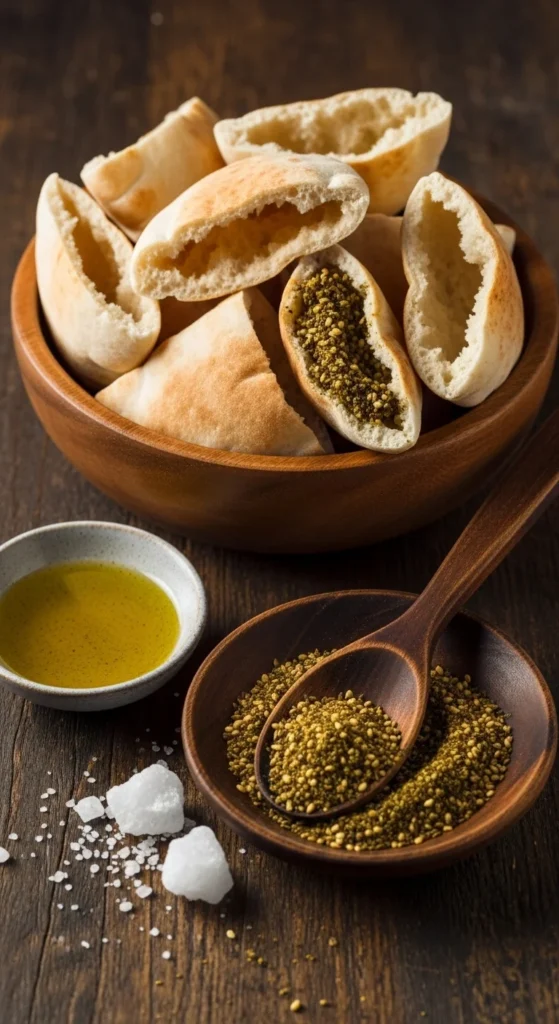
- Pita: 4–6 rounds (white or whole wheat, day-old = perfect)
- Oil: ¼ cup extra-virgin olive oil
- Spice it up: 1 tsp za’atar (or ½ tsp each garlic powder + dried oregano), ½ tsp kosher salt, pinch red pepper flakes
- Optional glow-up: Sesame seeds, everything-bagel seasoning, or smoked paprika
Gear That Gets Crunchy
- Baking sheet
- Pastry brush or spray bottle
- Pizza cutter or sharp knife
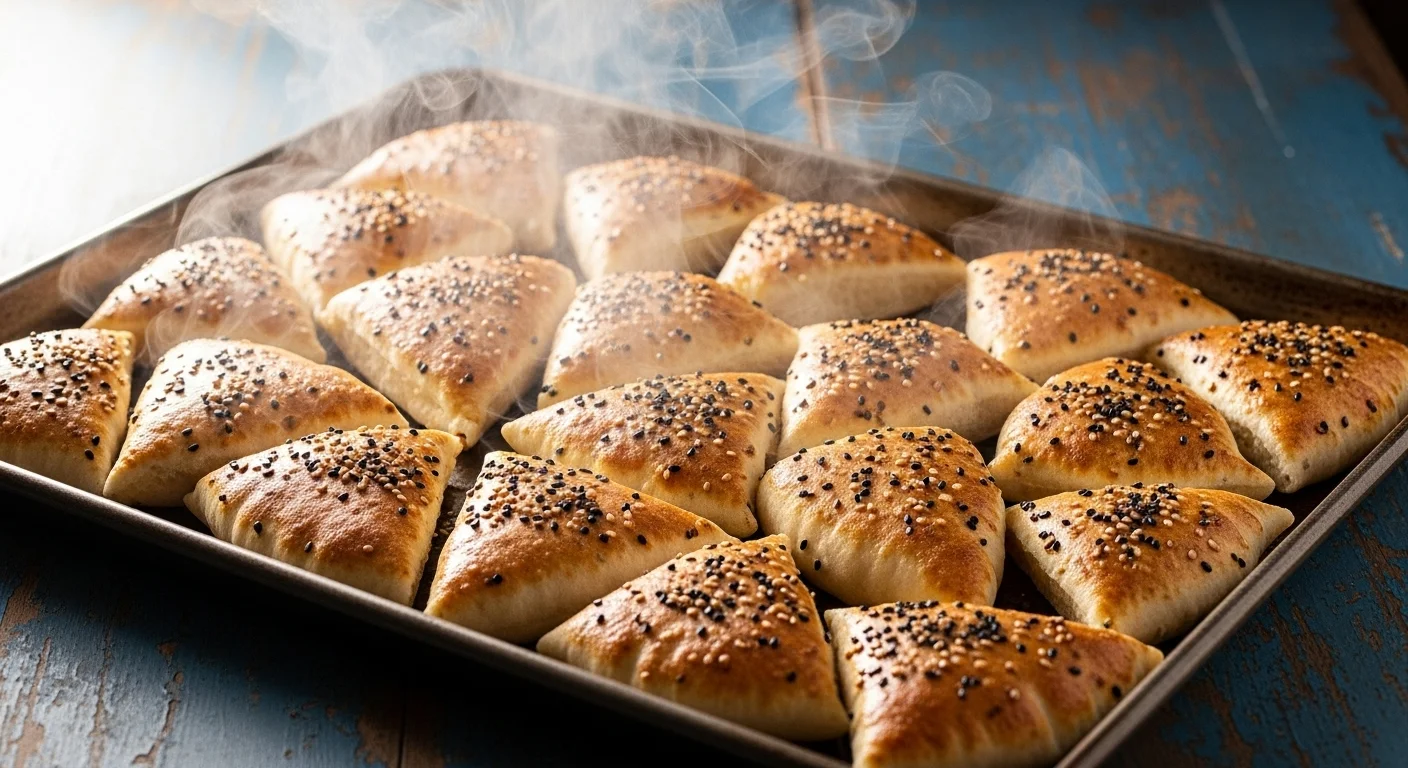
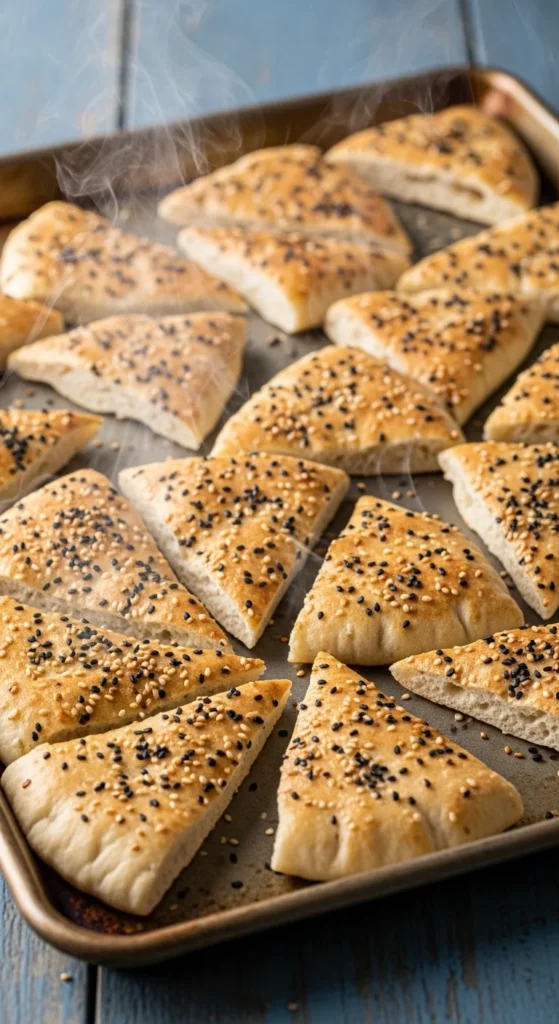
Step 1: Split & Slice
Cut each pita into 8 triangles (pizza-cutter style). Separate top and bottom layers—thin = ultra-crisp.
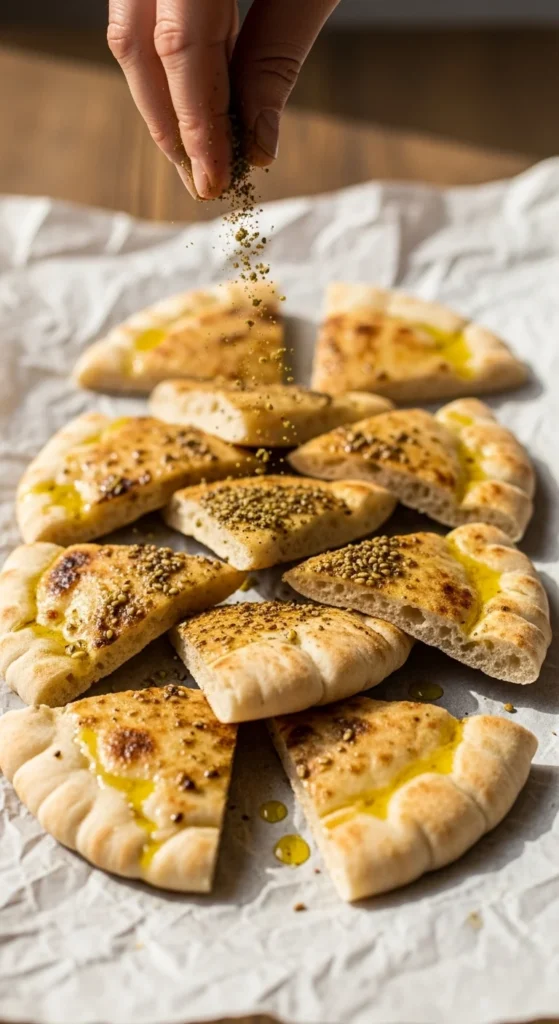
Step 2: Oil & Season
Brush or spray both sides lightly with oil. Sprinkle spice mix evenly—press gently so it sticks.
Step 3: Bake Hot & Fast
400°F, middle rack, 8–10 min. Flip at 5 min for even tan. Watch like a hawk—30 seconds = burnt.
Step 4: Cool & Devour
Cool on rack 2 min—crisp sets. Uneven edges? Chef’s charm.
Pro Tips for Chip Nirvana
- Stale pitas: Toast 2 min first to dry out.
- Oil hack: Spray bottle = even coat, less waste.
- Flavor spins: Ranch seasoning, cinnamon-sugar (sweet), or truffle salt.
- Storage: Airtight jar 5 days—revive in 300°F oven 2 min.
- Gluten-free: Use GF pita; same rules.
5 Ways to Use Them Tonight
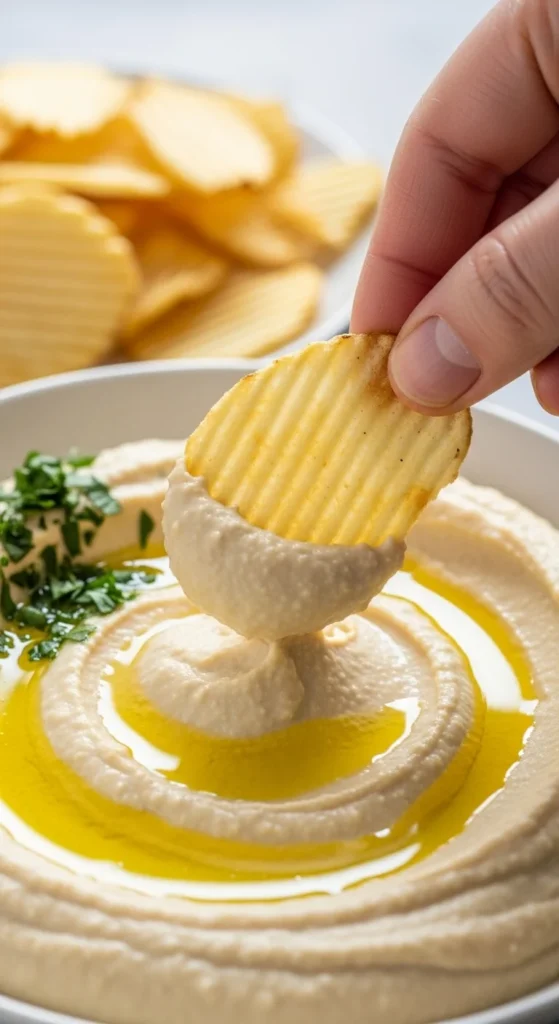
- Scoop roasted red pepper hummus.
- Crush over Greek salad → crouton upgrade.
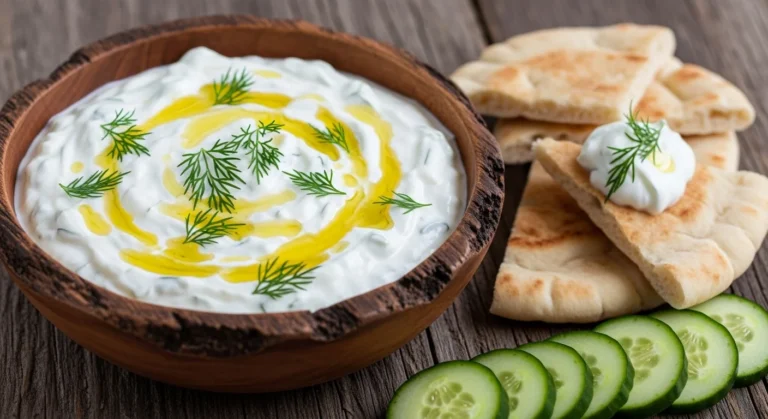
- Dip in garlic labneh.
- Top shakshuka for crunch.
- Sweet version: cinnamon-sugar + yogurt dip.