How to Cook Arepas That Are Crispy and Cheesy
There’s something magical about the moment an arepa hits a hot pan—the gentle sizzle, the smell of toasted corn, and the promise of a golden, cheesy bite. Arepas are simple, comforting, and endlessly customizable, yet getting them perfectly crispy on the outside and irresistibly cheesy inside can feel like a secret only abuelas know. Good news: it’s not a secret anymore.

Whether you’re new to arepas or just want to level up your technique, this guide will walk you through every step—no stress, no fancy equipment, just seriously good results.
What Makes an Arepa Truly Great?
At their core, arepas are humble corn cakes made from pre-cooked corn flour, water, and salt. But the difference between “meh” and wow comes down to texture and balance.
A great arepa should be:
- Crispy and golden on the outside
- Soft, steamy, and cheesy inside
- Flavorful enough to eat plain, but sturdy enough for fillings
To get there, we’ll focus on dough consistency, the right cheese, and a two-step cooking method that guarantees crunch without dryness.
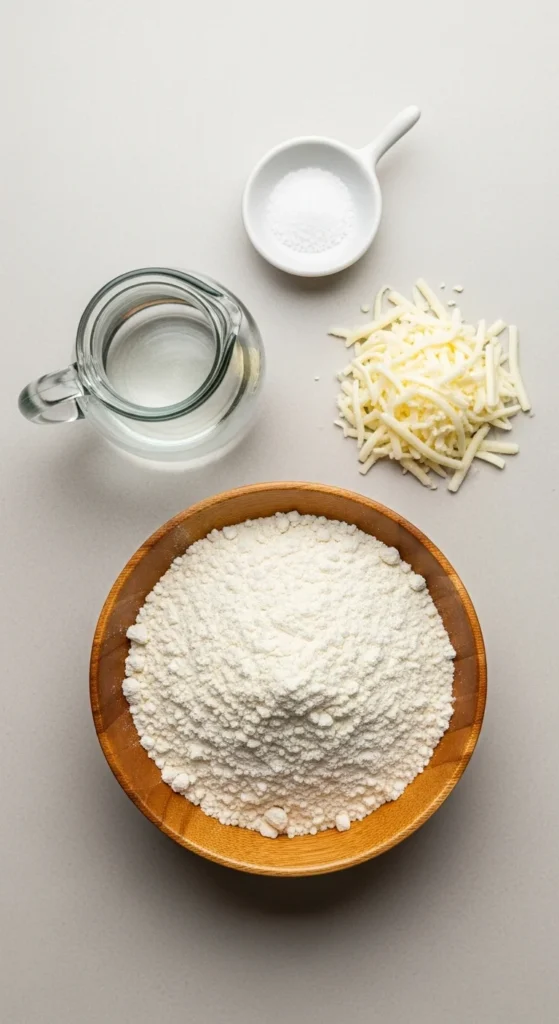
Ingredients You’ll Need (Keep It Simple)
You don’t need a long grocery list—arepas shine because of their simplicity.
- Pre-cooked corn flour (white or yellow)
- Warm water
- Salt
- Cheese (more on this below)
- Butter or oil for cooking
Choosing the Right Cheese
For that gooey, stretchy center, go for cheeses that melt well:
- Mozzarella
- Oaxaca
- Queso fresco mixed with mozzarella
- Mild cheddar (for a sharper flavor)
Grate the cheese finely so it distributes evenly through the dough.
How to Make the Perfect Arepa Dough
This is where most people go wrong—too dry or too wet. You’re aiming for a dough that feels like soft playdough.
Step-by-step:
- In a bowl, mix warm water and salt.
- Slowly add corn flour, mixing with your hands.
- Let the dough rest for 2–3 minutes to hydrate.
- Fold in grated cheese until evenly combined.
Dough check:
Press it gently. If it cracks, add a splash of water. If it sticks to your hands, sprinkle in more flour.
Shaping Arepas for Maximum Crispiness
Shape matters more than you think.
- Roll dough into balls about the size of a tennis ball.
- Flatten gently to about ½ inch thick.
- Smooth the edges with your fingers to prevent cracking.
Thicker arepas = creamy centers. Thinner arepas = more crunch. For cheesy arepas, that ½-inch sweet spot is perfect.
The Best Way to Cook Crispy, Cheesy Arepas
This method combines stovetop crisping with gentle heat to melt the cheese inside.
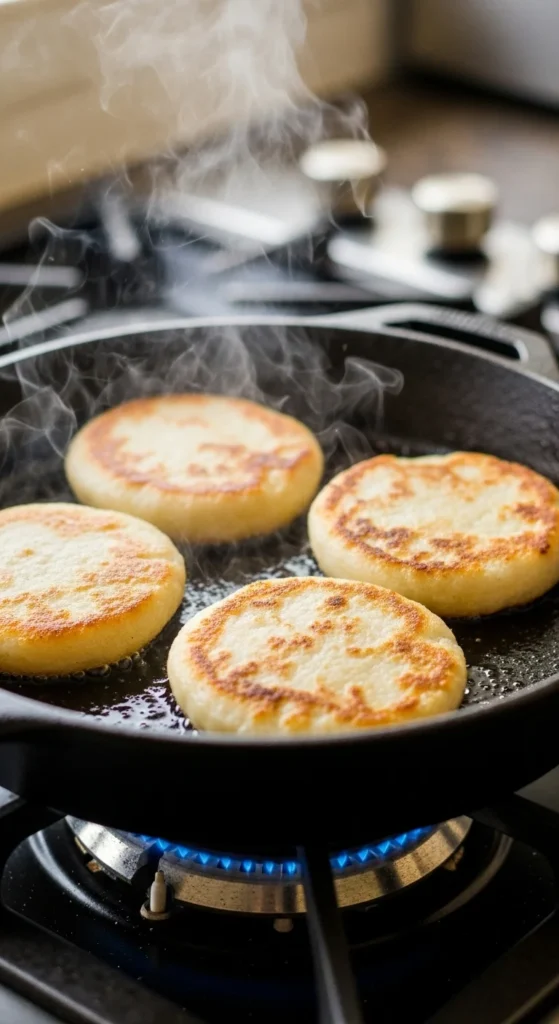
Step 1: Pan-Sear
- Heat a skillet (cast iron is ideal) over medium heat.
- Add a little butter or oil.
- Cook arepas 4–5 minutes per side until deeply golden.
Step 2: Finish Cooking
Once both sides are crisp:
- Lower the heat and cover the pan for 2–3 minutes, or
- Transfer the skillet to a warm oven (350°F / 175°C) for 5 minutes
This ensures the cheese melts fully without burning the crust.
Pro Tips for Extra-Crispy Results
Want that shatteringly crisp exterior? Try these tricks:
- Brush the outside lightly with butter before cooking
- Don’t overcrowd the pan—space equals crisp
- Resist flipping too early; let the crust form
- Use medium heat, not high (patience pays off)
Serving Ideas (From Simple to Loaded)
Arepas are incredible straight from the pan, but they also love toppings.

Try them with:
- Butter and flaky salt
- Avocado and fried egg
- Shredded chicken or beans
- Hot sauce or garlic yogurt
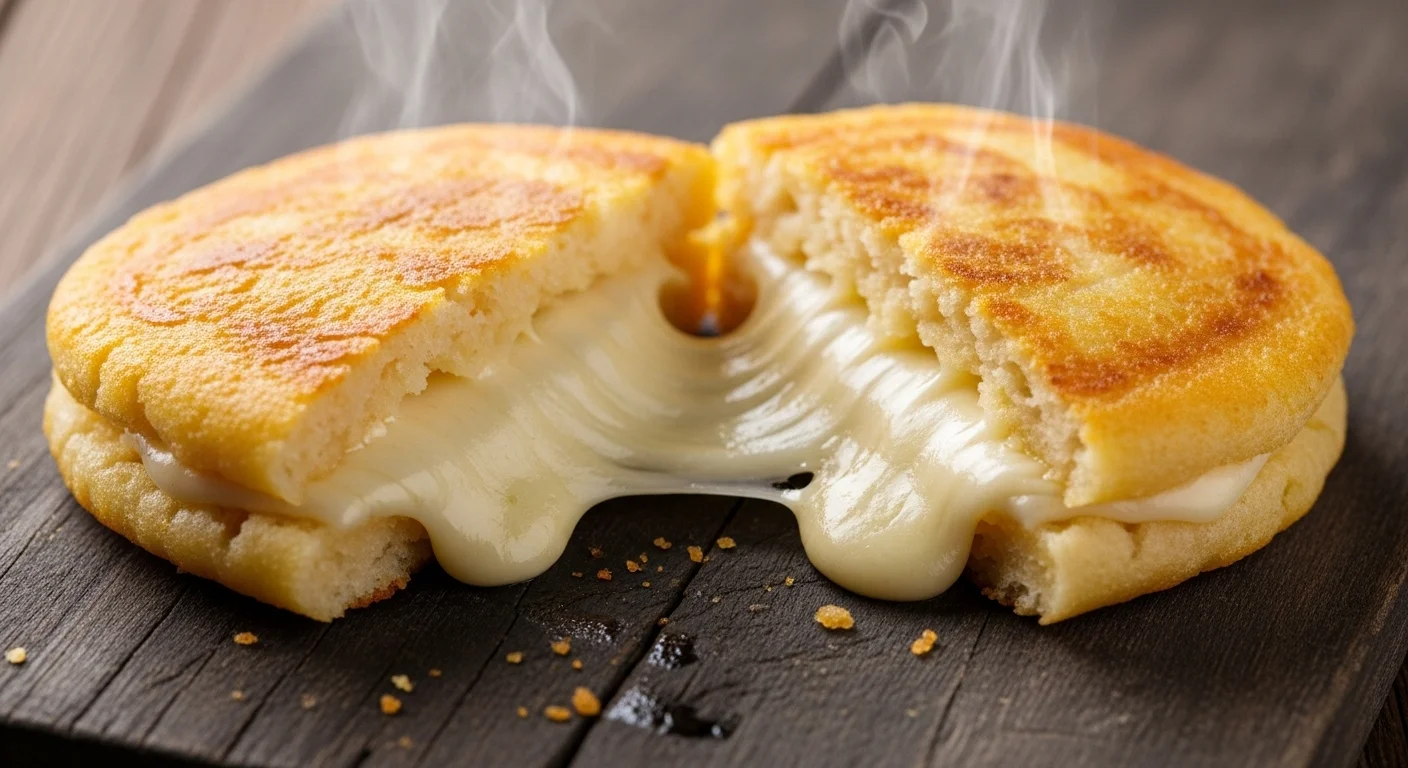
Slice them open carefully—watch for that cheese pull.
Your Crispy, Cheesy Arepa Moment
Once you master this method, arepas become a weeknight hero, a brunch favorite, or a cozy snack you’ll crave constantly. They’re forgiving, fast, and endlessly adaptable—and that crispy-cheesy combo never disappoints.