How to Make Sushi Rolls at Home Without a Kit
Craving sushi but want to skip the restaurant bill? Making sushi rolls at home is easier than you think, even without a fancy kit! With just a few simple tools and fresh ingredients, you can craft delicious, Instagram-worthy sushi rolls that rival your favorite sushi spot. From creamy avocado to spicy tuna, this step-by-step guide will have you rolling like a pro in no time. Let’s dive into the art of homemade sushi and bring the Japanese dining experience to your kitchen!
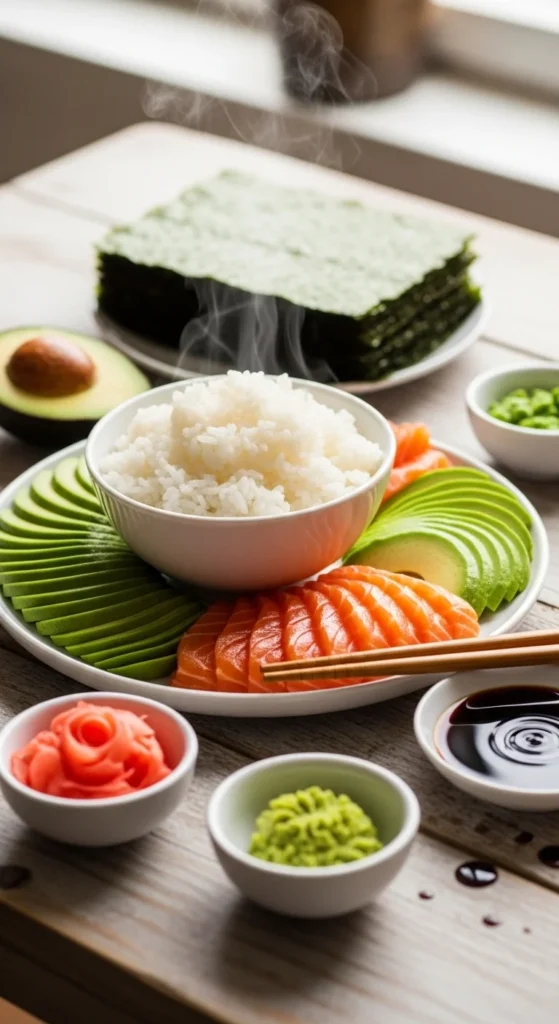
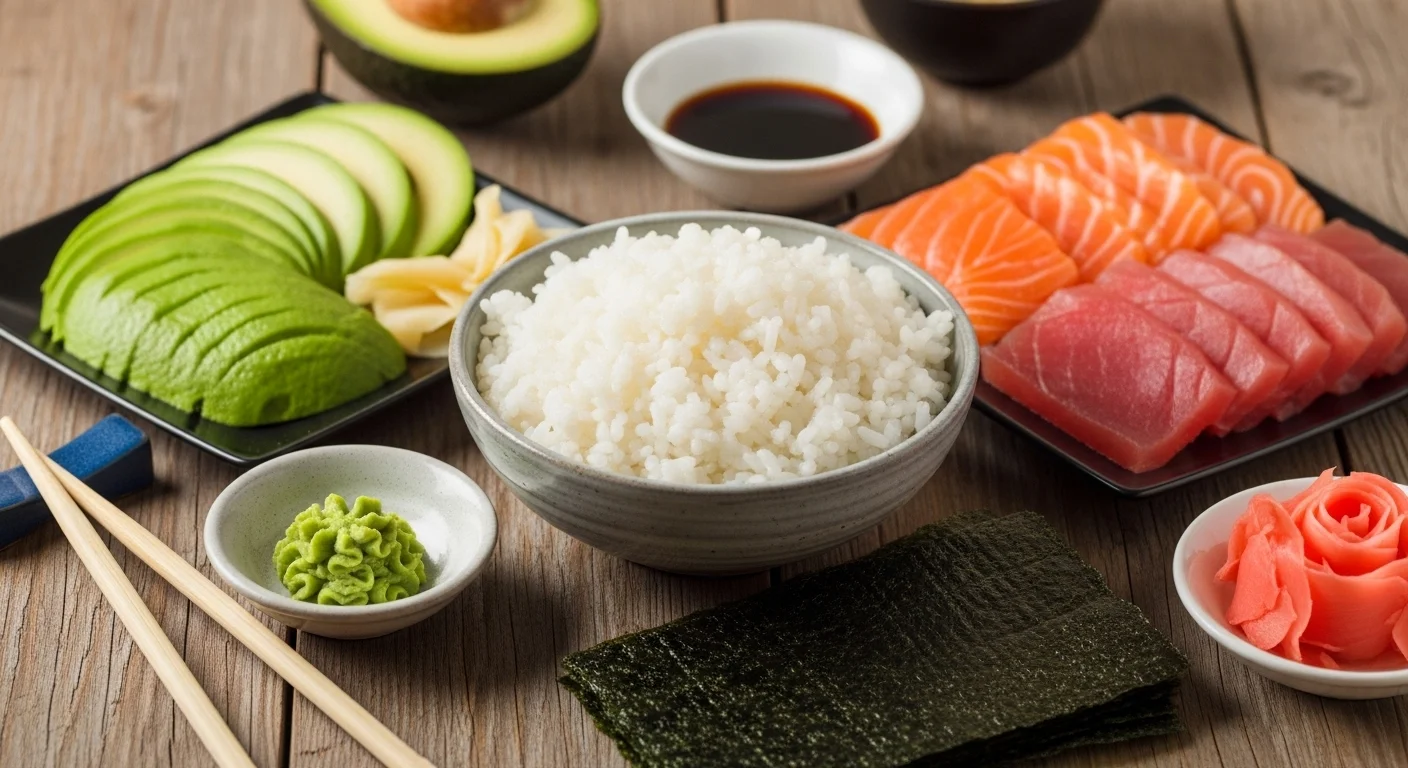
Step 1: Gather Your Ingredients and Tools
You don’t need a sushi kit to make great rolls—just a few pantry staples and basic kitchen tools. Here’s what you’ll need for 4–6 rolls (serves 2–4):
- Rice: 1 cup sushi rice (short-grain) or medium-grain rice, 1 ¼ cups water, 2 tbsp rice vinegar, 1 tbsp sugar, ½ tsp salt.
- Fillings: Fresh fish (sushi-grade salmon or tuna, ½ lb), avocado, cucumber, or cooked crab sticks. Optional: cream cheese or carrots for variety.
- Nori: 4–6 sheets of roasted seaweed.
- Extras: Soy sauce, pickled ginger, wasabi, and sesame seeds or spicy mayo for topping.
- Tools: Sharp knife, cutting board, bowl of water (to wet hands), and a clean kitchen towel or parchment paper (instead of a bamboo mat).
Pro Tip: Source sushi-grade fish from a trusted fishmonger or Asian market to ensure freshness and safety.
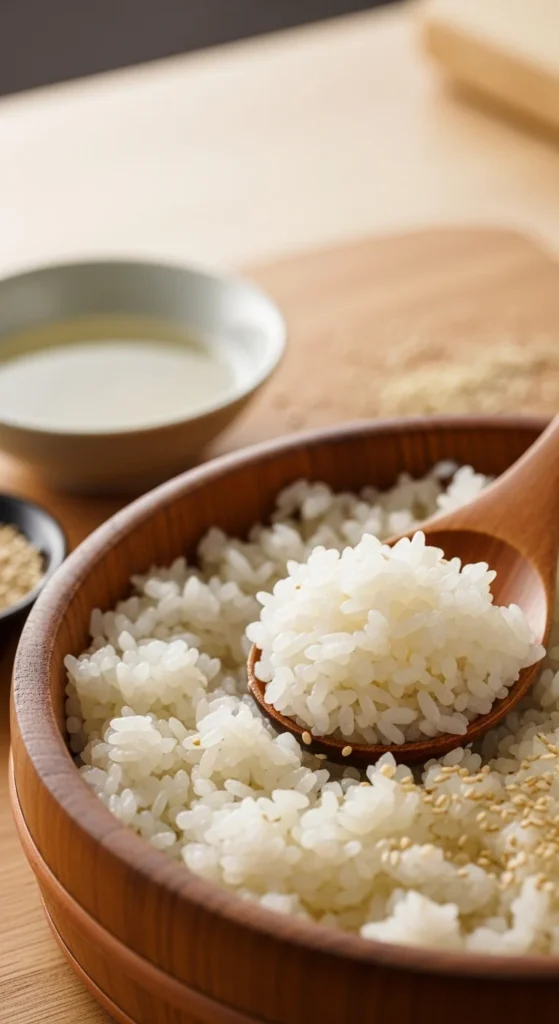
Step 2: Cook Perfect Sushi Rice
The heart of any sushi roll is sticky, well-seasoned rice. Rinse 1 cup of sushi rice under cold water until the water runs clear (about 2–3 minutes) to remove excess starch. Cook in a pot with 1 ¼ cups water: bring to a boil, then simmer covered on low for 15 minutes. Let it sit for 10 minutes off the heat. Mix rice vinegar, sugar, and salt in a small bowl, then gently fold into the warm rice. Let cool to room temperature.
Texture Hack: Fan the rice while mixing to give it that glossy, sushi-bar sheen.
Step 3: Prep Your Fillings
While the rice cools, slice your fillings into thin, uniform strips (about ¼-inch thick). For fish, cut against the grain for a tender bite. Peel and slice avocado and cucumber into matchsticks. Keep a bowl of water nearby to dip your knife, preventing sticking when cutting fish.
- Pro Tip: Chill raw fish until just before slicing to keep it firm and easy to cut.
- Variation: Try cooked fillings like tempura shrimp or grilled eel for a beginner-friendly option.
Step 4: Set Up Your Rolling Station
No bamboo mat? No problem! Lay a clean kitchen towel or a sheet of parchment paper on a flat surface. Place a nori sheet shiny-side down on the towel. Wet your hands to prevent sticking, then spread a thin layer of rice (about ½ cup) evenly over the nori, leaving a 1-inch border at the top.
Style Tip: Sprinkle sesame seeds or chopped herbs over the rice for extra flair.
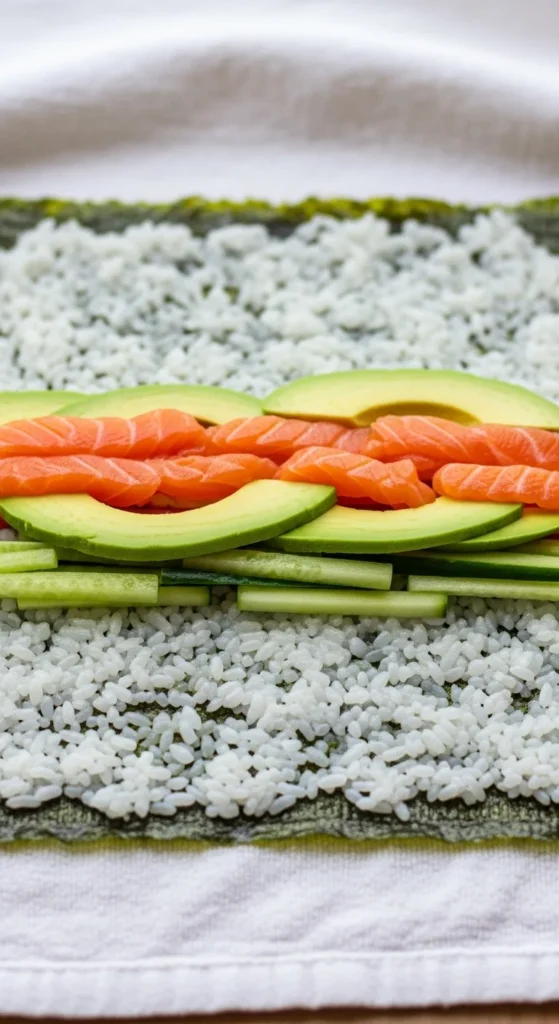
Step 5: Add Fillings and Roll
Place your fillings in a horizontal line across the center of the rice. Don’t overstuff—1–2 slices of each ingredient is enough. To roll, lift the bottom edge of the towel or parchment, tucking the fillings tightly as you fold the nori over. Roll firmly, using the towel to shape the sushi into a cylinder. Wet the top border of the nori to seal the roll.
Rolling Hack: Press gently but firmly as you roll to keep the shape tight without squishing the fillings.
Step 6: Slice and Serve
Using a sharp, wet knife, slice the roll into 6–8 pieces, wiping the knife between cuts for clean edges. Arrange on a plate, garnish with sesame seeds, a drizzle of spicy mayo, or a dollop of wasabi. Serve with soy sauce and pickled ginger on the side.
Presentation Tip: Angle the rolls slightly on the plate for a restaurant-style look.

Step 7: Pair and Enjoy
Sushi is best with a refreshing drink like green tea, sake, or a crisp sparkling water with a lemon twist. For a fun twist, serve with a small bowl of miso soup or edamame to complete the Japanese vibe.
Make It Your Own
Experiment with fillings like spicy tuna (mix tuna with sriracha and mayo), tempura veggies, or even mango for a sweet twist. Try inside-out rolls (rice on the outside) by flipping the nori after spreading the rice and adding fillings directly on the nori.
Roll Your Way to Sushi Stardom!
With a little practice, you’ve turned your kitchen into a sushi haven—no kit required! These homemade rolls are perfect for date nights, parties, or a fun family cooking project. Save this guide for your next sushi craving, and get ready to impress with your rolling skills. Happy sushi-making!