How to Make a Sourdough Starter That Never Fails
There’s something magical about baking your own sourdough bread—crisp crust, chewy crumb, and that tangy, soul-warming flavor. It all starts with a reliable sourdough starter, a living mix of flour and water teeming with wild yeast and bacteria. If you’ve ever worried about messing it up, relax! This foolproof guide will walk you through creating a bubbly, never-fail sourdough starter in just 7–10 days. Let’s get your kitchen smelling like a rustic bakery!
Why a Sourdough Starter Is Worth It
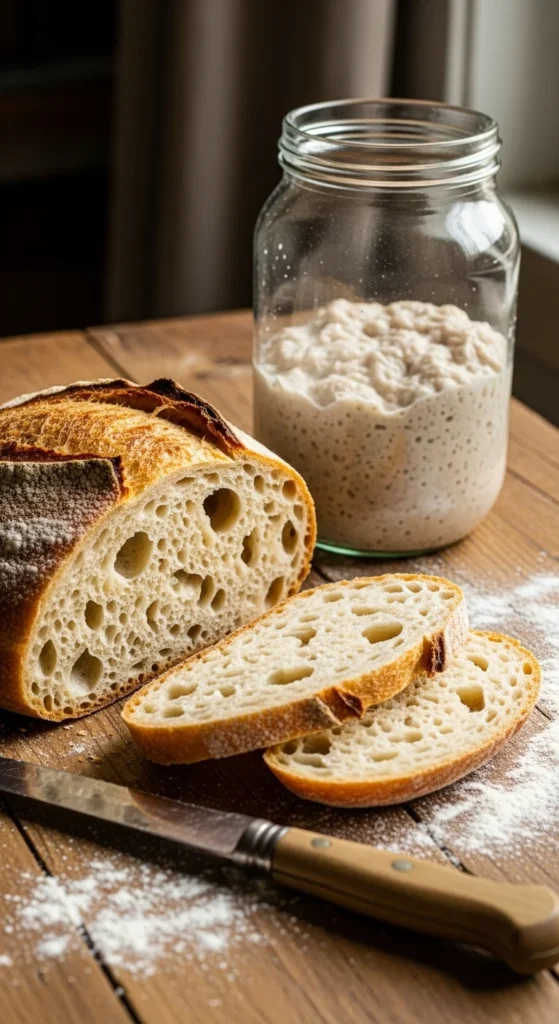
A sourdough starter is the heart of artisan bread, giving it that signature tang and texture. It’s just flour and water, fermented by wild yeast and bacteria naturally present in the environment. With a little patience and consistency, you’ll have a starter that lasts for years—some even pass them down through generations! Ready to start your baking legacy?
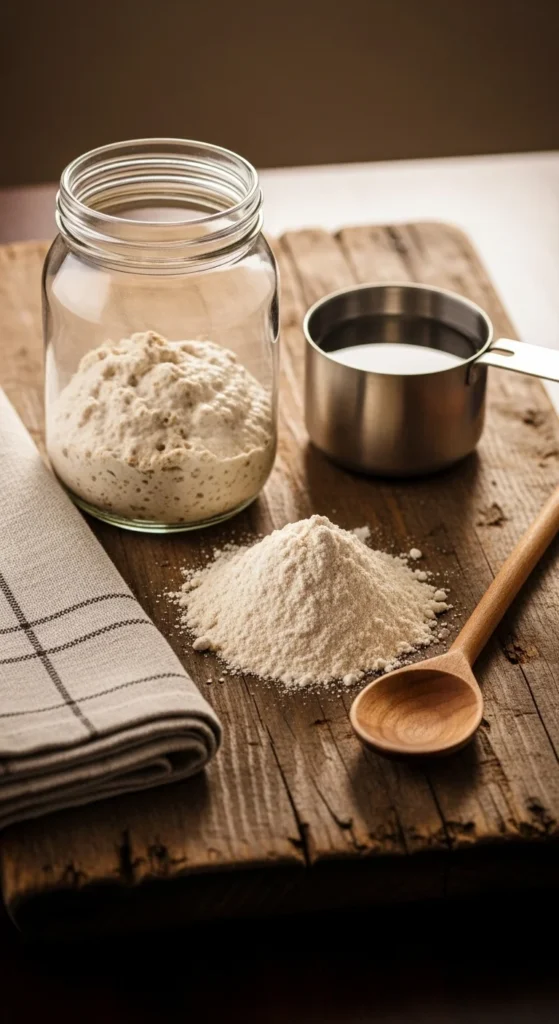
Here’s what you’ll need:
- Flour: Whole wheat flour (for day 1) and unbleached all-purpose or bread flour (for subsequent days).
- Water: Filtered or non-chlorinated water, room temperature.
- Equipment: A clean glass jar (1-quart size works great), a wooden spoon or spatula, and a breathable cover (like a cloth or coffee filter secured with a rubber band).
- Optional: A kitchen scale for precise measurements (highly recommended).
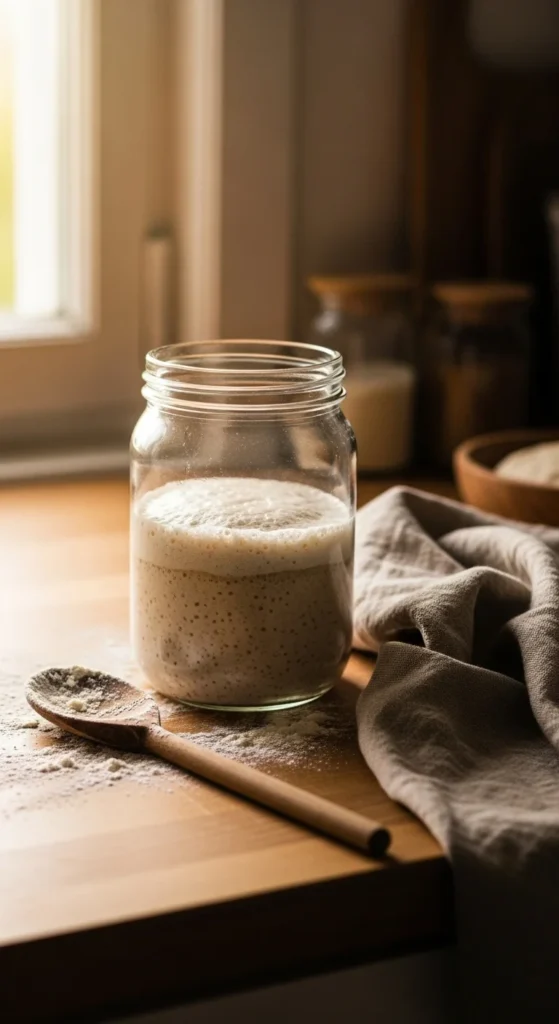
Step 1: Day 1 – Mix the Starter
Start with a clean jar. Combine 100g (about 3/4 cup) whole wheat flour with 100g (about 1/2 cup) room-temperature filtered water. Stir until no dry flour remains—it should look like a thick pancake batter. Cover loosely with a cloth or coffee filter and let it sit at room temperature (70–75°F is ideal) for 24 hours.
Pro Tip: Whole wheat flour jumpstarts fermentation with extra nutrients. If you don’t have it, use all-purpose flour, but expect slightly slower activity.
Step 2: Days 2–3 – Feed and Observe
Each day, discard about half the starter (save it for pancakes or compost!). Add 100g fresh all-purpose or bread flour and 100g water to the remaining starter. Stir well, cover, and let it rest for another 24 hours. By day 2 or 3, you might see small bubbles or a slightly sour smell—signs that fermentation is kicking in.

Step 3: Days 4–7 – Build Strength
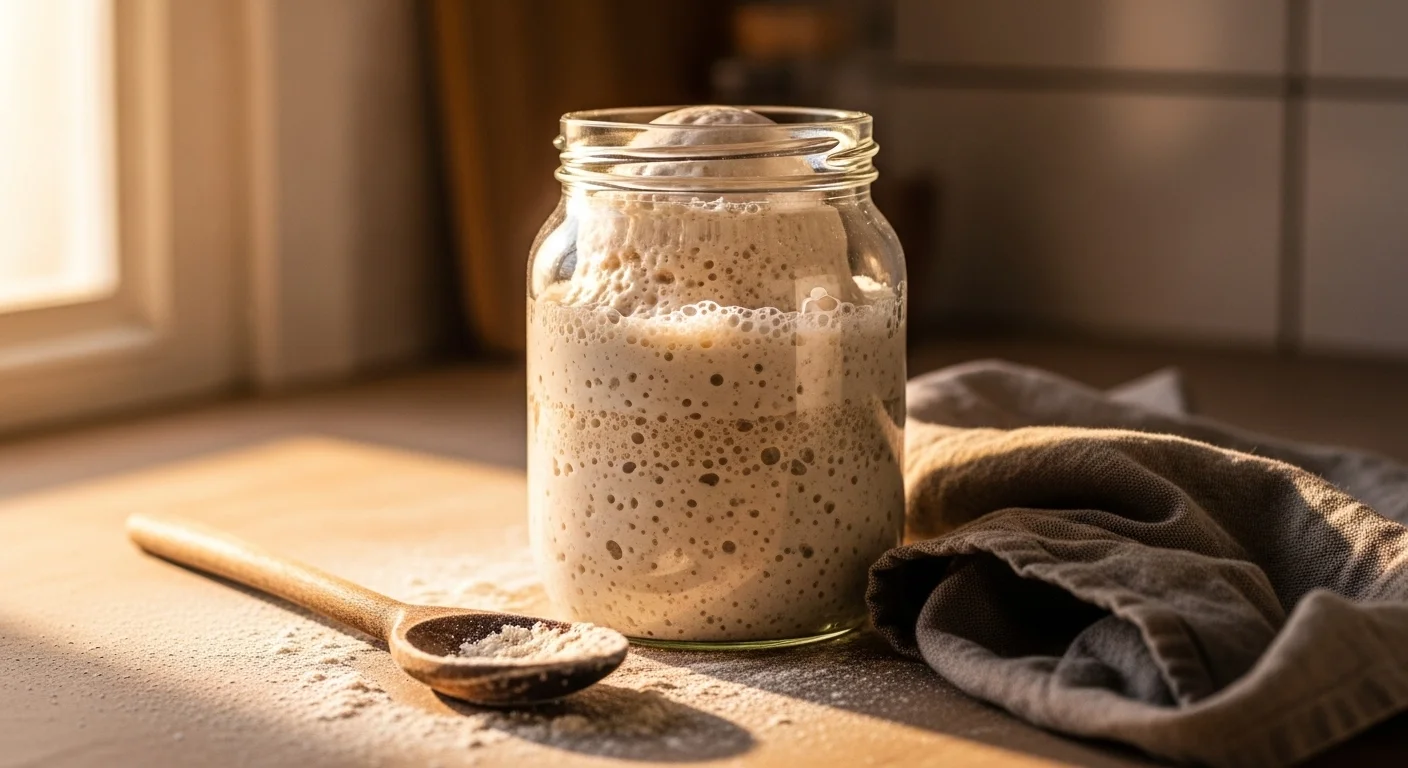
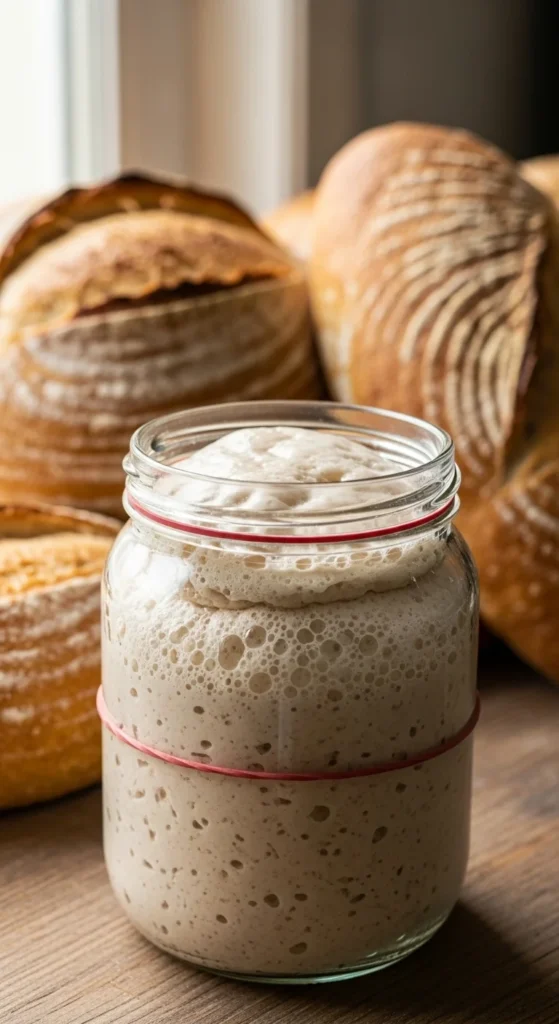
Continue the daily routine: discard half, then feed with 100g flour and 100g water. Around day 4 or 5, your starter should start doubling in size within 6–12 hours after feeding, with a pleasant yeasty-tangy aroma. If it’s sluggish, try a warmer spot (up to 80°F) or feed twice daily (every 12 hours). By day 7, a healthy starter will be bubbly, smell mildly sour, and double consistently.
Pro Tip: Mark the jar with a rubber band to track how much it rises. A strong starter should hit that “double” mark reliably.
Step 4: Test and Maintain
To test if your starter is ready, drop a teaspoon into a glass of water. If it floats, congratulations—it’s ready for baking! To maintain, keep feeding daily if stored at room temperature, or move it to the fridge and feed weekly (same ratio: discard half, add 100g flour and water). Always bring it to room temperature and feed it a couple of times before baking.
Troubleshooting for Success
- No bubbles? Move to a warmer spot or try rye flour for a boost.
- Funky smell? A little acetone or cheesy odor is normal early on. If it smells like rot, start over with a clean jar.
- Too much discard? Use it in recipes like waffles, crackers, or banana bread.
- Mold? If you see fuzzy or colored spots, toss it and start fresh.
Your Sourdough Journey Begins!
Your starter is more than just ingredients—it’s a living partner in your baking adventures. Name it, nurture it, and soon you’ll be pulling crusty, fragrant loaves from the oven. Save this guide for reference, and share your first loaf on Pinterest to inspire others. Happy baking!